


Welcome to Textured Fringe
At Textured Fringe, we’re all about one thing — helping you nail the perfect fringe or bangs style. Whether you’re after a bold, textured look or something soft and subtle, our guides make it easy to find the style that works for your face, your hair type, and your lifestyle.
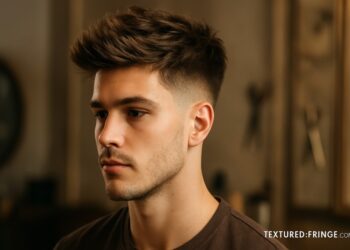
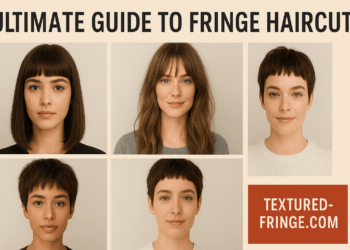
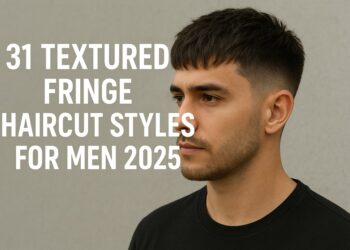
What is a Textured Fringe?
A textured fringe is a versatile hairstyle that adds movement, layers, and personality to your look. Unlike blunt bangs, textured fringes are cut to create softness and dimension, making them flattering for a wide range of face shapes.
At Textured Fringe, we break it down in simple terms so you know exactly how it differs from other bangs and how to explain it to your stylist.
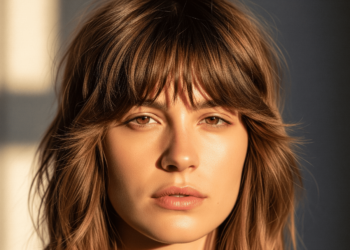
How to Style a Textured Fringe (Textured Fringe Guide)
Styling doesn’t need to be complicated. Here’s how we recommend it at Textured Fringe:
-
Use a lightweight styling product like sea salt spray for natural texture.
-
Blow-dry using your fingers instead of a round brush to keep it casual.
-
Finish with a matte clay or pomade for hold and definition.
👉 For more step-by-step styling ideas, explore our Fringe Style Guides.
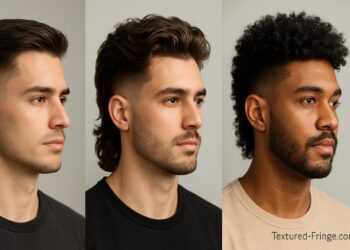
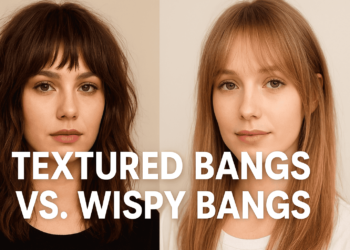
Textured Fringe vs. Other Bangs
Not sure how a textured fringe compares to blunt or wispy bangs? At Textured Fringe, we’ve created comparison guides that show you the difference, complete with pros, cons, and styling tips.
-
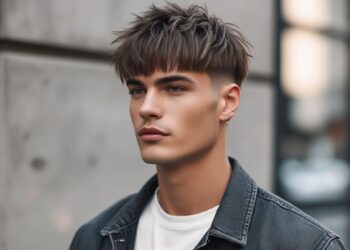
Blunt Fringe: Bold, sharp, and dramatic.
-
Wispy Fringe: Soft, light, and airy.
-
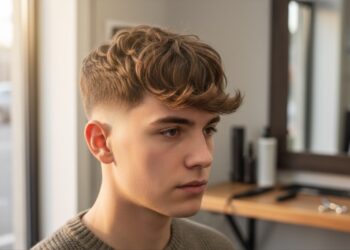
Textured Fringe: Layered, versatile, and easy to style.
Cutting Tips from the Textured Fringe Team
If you’re thinking about trying this look, here are a few things to keep in mind:
-
Always start longer — you can go shorter later.
-
Ask your barber or stylist for layered, feathered ends to create texture.
-
Keep trims regular (every 3–4 weeks) to maintain shape.
At Textured Fringe, we recommend bringing reference photos with you so your stylist knows the exact look you’re after.
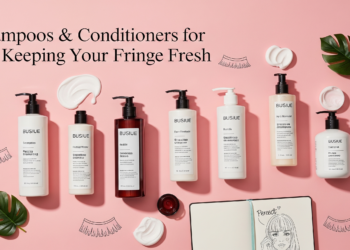
Products We Recommend at Textured Fringe
The right products make all the difference. Our readers at Textured Fringe often get the best results using:
-
Sea salt spray for natural waves
-
Matte clay or paste for definition
-
Lightweight hairspray to hold without stiffness
👉 Check out our Product Guides for more recommendations.
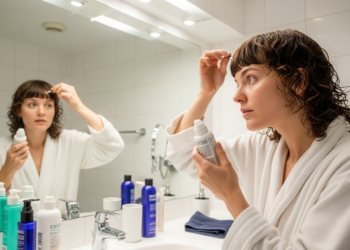
Maintenance & Styling Tips
To keep your fringe looking sharp:
-
Wash and dry daily to avoid oil buildup.
-
Use dry shampoo between washes.
-
Book regular trims to keep the texture clean.
At Textured Fringe, we believe maintenance should be simple — and we show you exactly how to make it part of your routine.
Why Trust Textured Fringe?
At Textured Fringe, we combine stylist-backed insights with real-world experience. Our goal is to make bangs and fringes easy to understand, style, and maintain — without overcomplicating things.
We’re here to give you:
-
Clear, practical guides you can actually use.
-
Trend inspiration that fits everyday life.
-
Confidence in choosing and styling your look.
FAQs About Textured Fringe
What is Textured Fringe?
Textured Fringe is a style-focused blog that explores modern haircut trends, grooming tips, and hair inspiration. We make it simple for readers to discover new looks and learn how to style them with confidence.
Who is Textured Fringe for?
Our content is for anyone who wants fresh hairstyle ideas — from men exploring textured cuts to women looking for fringe inspiration, and even stylists who want to stay ahead of trends.
Does Textured Fringe only cover fringe hairstyles?
No. While our name comes from the textured fringe trend, we cover a wide variety of styles, from classic cuts to bold modern looks, along with tips for maintenance, styling, and grooming.
How often is new content published on Textured Fringe?
We regularly update our blog with new hairstyle guides, trend breakdowns, and practical tips so our readers can always find the latest inspiration.
Can I request a hairstyle guide on Textured Fringe?
Yes! We welcome reader suggestions. If there’s a style or trend you’d like us to cover, you can reach out via our Contact Us page and we’ll do our best to feature it.
Is Textured Fringe a salon?
No. Textured Fringe is not a salon — we’re an online platform dedicated to hairstyle inspiration and guides. Our goal is to give readers the knowledge and confidence to choose or style their look.
How can I stay updated with Textured Fringe?
You can visit our website regularly for the latest blogs, or follow us on social media to get fresh hairstyle inspiration straight to your feed.


