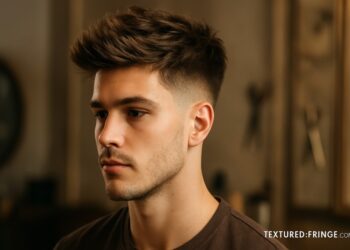
Ever catch your reflection and think, “I need a fresh look”? A textured fringe might be just the tweak your hairstyle needs. It’s got that cool, lived-in vibe that works for teens and grown-ups alike. Let me walk you through exactly how to chat with your barber so you both end up on the same page—and with a haircut you’ll love.
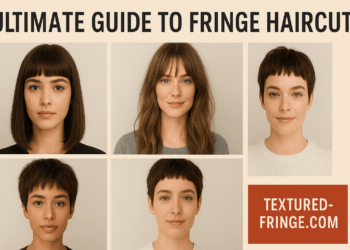
What Is a Textured Fringe Haircut?
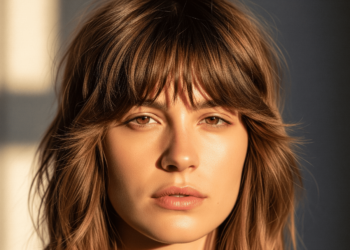
A fringe (or bangs) is simply the bit of hair that falls over your forehead. When we say “textured,” we mean the ends aren’t cut in one blunt line. Instead, your barber will snip little notches or layers, giving the hair more dimension and movement. Picture the difference between a straight edge and the tips of a pine cone—that’s the kind of playful, piecey effect we’re after. The final look? Fuller, more voluminous front sections that have just enough messiness to feel effortless.
Why Try It?
- Adds Character: No one wants a cookie-cutter cut. Those irregular ends let your personality peek through.
- Low-key Styling: Skip the fuss. Even without product, a few choppy layers will stand out.
- Super Flexible: Pair it with a fade, undercut, or longer sides—your choice.
Before You Walk In: Prep Like a Pro
- Gather Pics. Scroll Instagram or Pinterest and save a handful of textured fringe haircut examples. Visuals help more than a thousand words.
- Decide on Length. Are you aiming for eyebrow grazing? Maybe just above? Having a ballpark length in mind keeps surprises at bay.
- Jot Down Keywords. “Layered,” “choppy,” “piecey”—even if you’re fuzzy on hair jargon, these terms right from the barber’s playbook can’t hurt.
How to Describe It to Your Barber
Barbers are experts at translating your ideas into shape and style. Here’s a simple script you can adapt:
“I’d like a textured fringe—something a bit messy at the ends rather than a straight cut. Picture these layers [show pic] down to around eyebrow level. Can you cut in a few choppy bits so it looks piecey, not blunt?”
A couple extra pointers:
- Talk Texture: “Can you thin out any bulk? I love it when the ends look feathered.”
- Mention Hair Type: Thick, curly, fine—it all matters. “My hair’s on the thicker side, so if you could texturize it, that’d be awesome.”
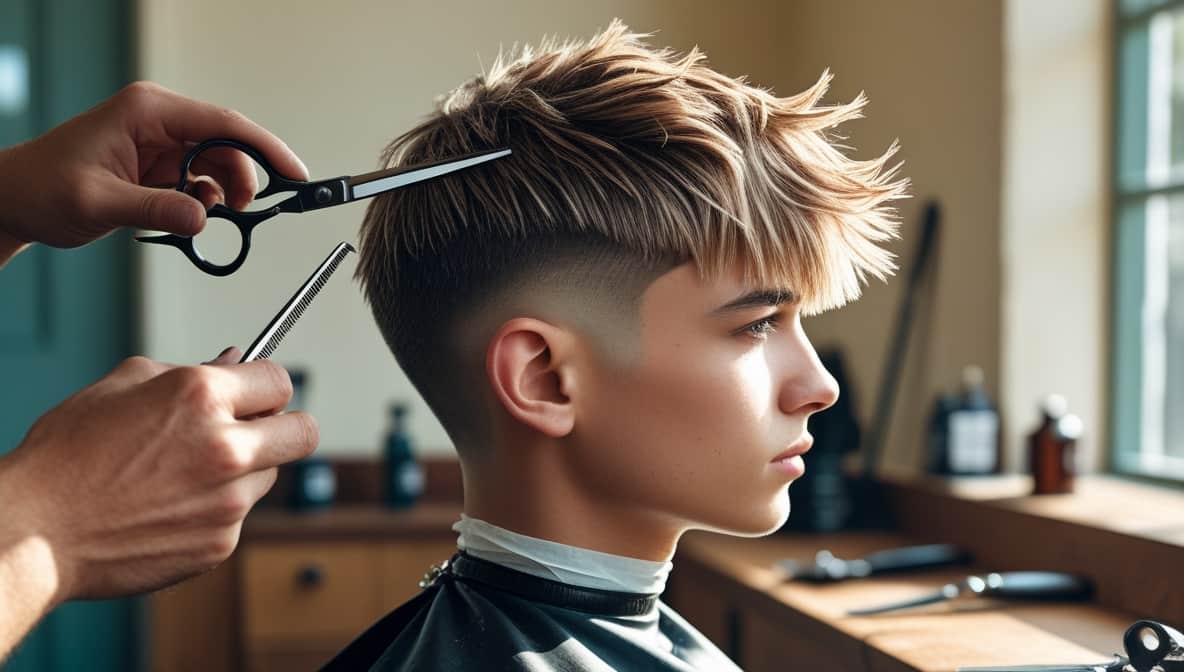
During the Cut: Keep the Conversation Going
- Clarify Terms: If you hear “point cutting” or “razor texturizing” and aren’t sure, just ask.
- Monitor Length: Lean forward, give a peek mid-cut. Too long? Too short? Speak up.
- Learn Styling Moves: Ask, “How would you finish this at home?” A quick demo on applying wax or scrunching with your fingers makes upkeep a breeze.
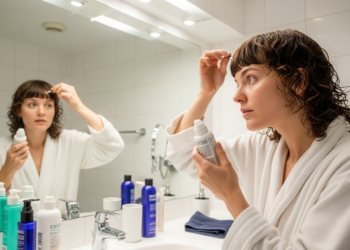
Post-Cut Care: Own That Fringe
- A Touch of Product: A fingertip’s worth of pomade or styling cream goes a long way—rub between your fingers, then piece out the bangs.
- Finger-Comb, Not Brush: Use your hands to tousle it; combing flat can kill the texture.
- Schedule Trims: Every 3–4 weeks, swing back in for a tidy-up to keep those layers crisp.
Extra Tips
- Watch the Dry Cut: If possible, have your barber leave your hair dry when cutting the fringe—this shows exactly how it’ll fall.
- Try Different Looks: Want a softer fringe? Ask for more feathering. Prefer something edgier? Request sharper, more pronounced choppy bits.
- Embrace Imperfection: A bit of asymmetry is the point—don’t fret if it’s not mirror-perfect.
Final Thoughts
Getting a textured fringe shouldn’t feel intimidating. I remember my first time: I mumbled, “Just give me something, uh, cool,” and ended up with a fringe that looked more like a helmet than ‘effortlessly messy.’ Lesson learned—be bold, show pictures, and use the right keywords. Before you know it, you’ll have a fringe that feels uniquely yours. Go give your barber the rundown and step out with a fresh, textured look you can’t wait to flaunt.