Fringes are having a moment, and the textured fringe is the star of the show. It’s laid-back, effortless, and somehow manages to look chic without trying too hard. The best part? You don’t need to run to the salon every single morning to make it look polished. With a few tools, the right products, and some practice, you can easily style a textured fringe at home.
I’ve been styling my own bangs for years, and trust me, I’ve made every mistake in the book. From accidentally frying them with a straightener to ending up with that “helmet” look because I sprayed too much hairspray—been there, done that. The good news is: once you learn the right way to handle your textured fringe, it’ll feel like second nature.
In this step-by-step guide, I’ll walk you through everything—from prepping your hair to finishing touches. I’ll also share personal tips, stylist-approved tricks, and ways to make your textured fringe work with your unique hair type and lifestyle.
Why a Textured Fringe Is Different
Unlike blunt bangs or curtain bangs, a textured fringe is designed to look soft, slightly messy, and perfectly undone. Instead of a harsh straight line, it has movement and irregularity. This makes it more forgiving to style and easier to grow out if you change your mind later.
What makes textured fringe great for at-home styling is its flexibility. You don’t need to nail that “salon-level perfect blowout.” In fact, a bit of imperfection is part of its charm.
Step-by-Step Guide: How to Style a Textured Fringe at Home
Here’s a practical breakdown you can follow, whether you’re getting ready for work, a night out, or just a casual day.
Step 1: Start with Clean (but Not Too Clean) Hair
Textured fringes style best when your hair has a bit of natural oil or grip. If your fringe is freshly washed, it may fall flat or look too puffy. Ideally, wash your hair the night before, so it has some lived-in texture.
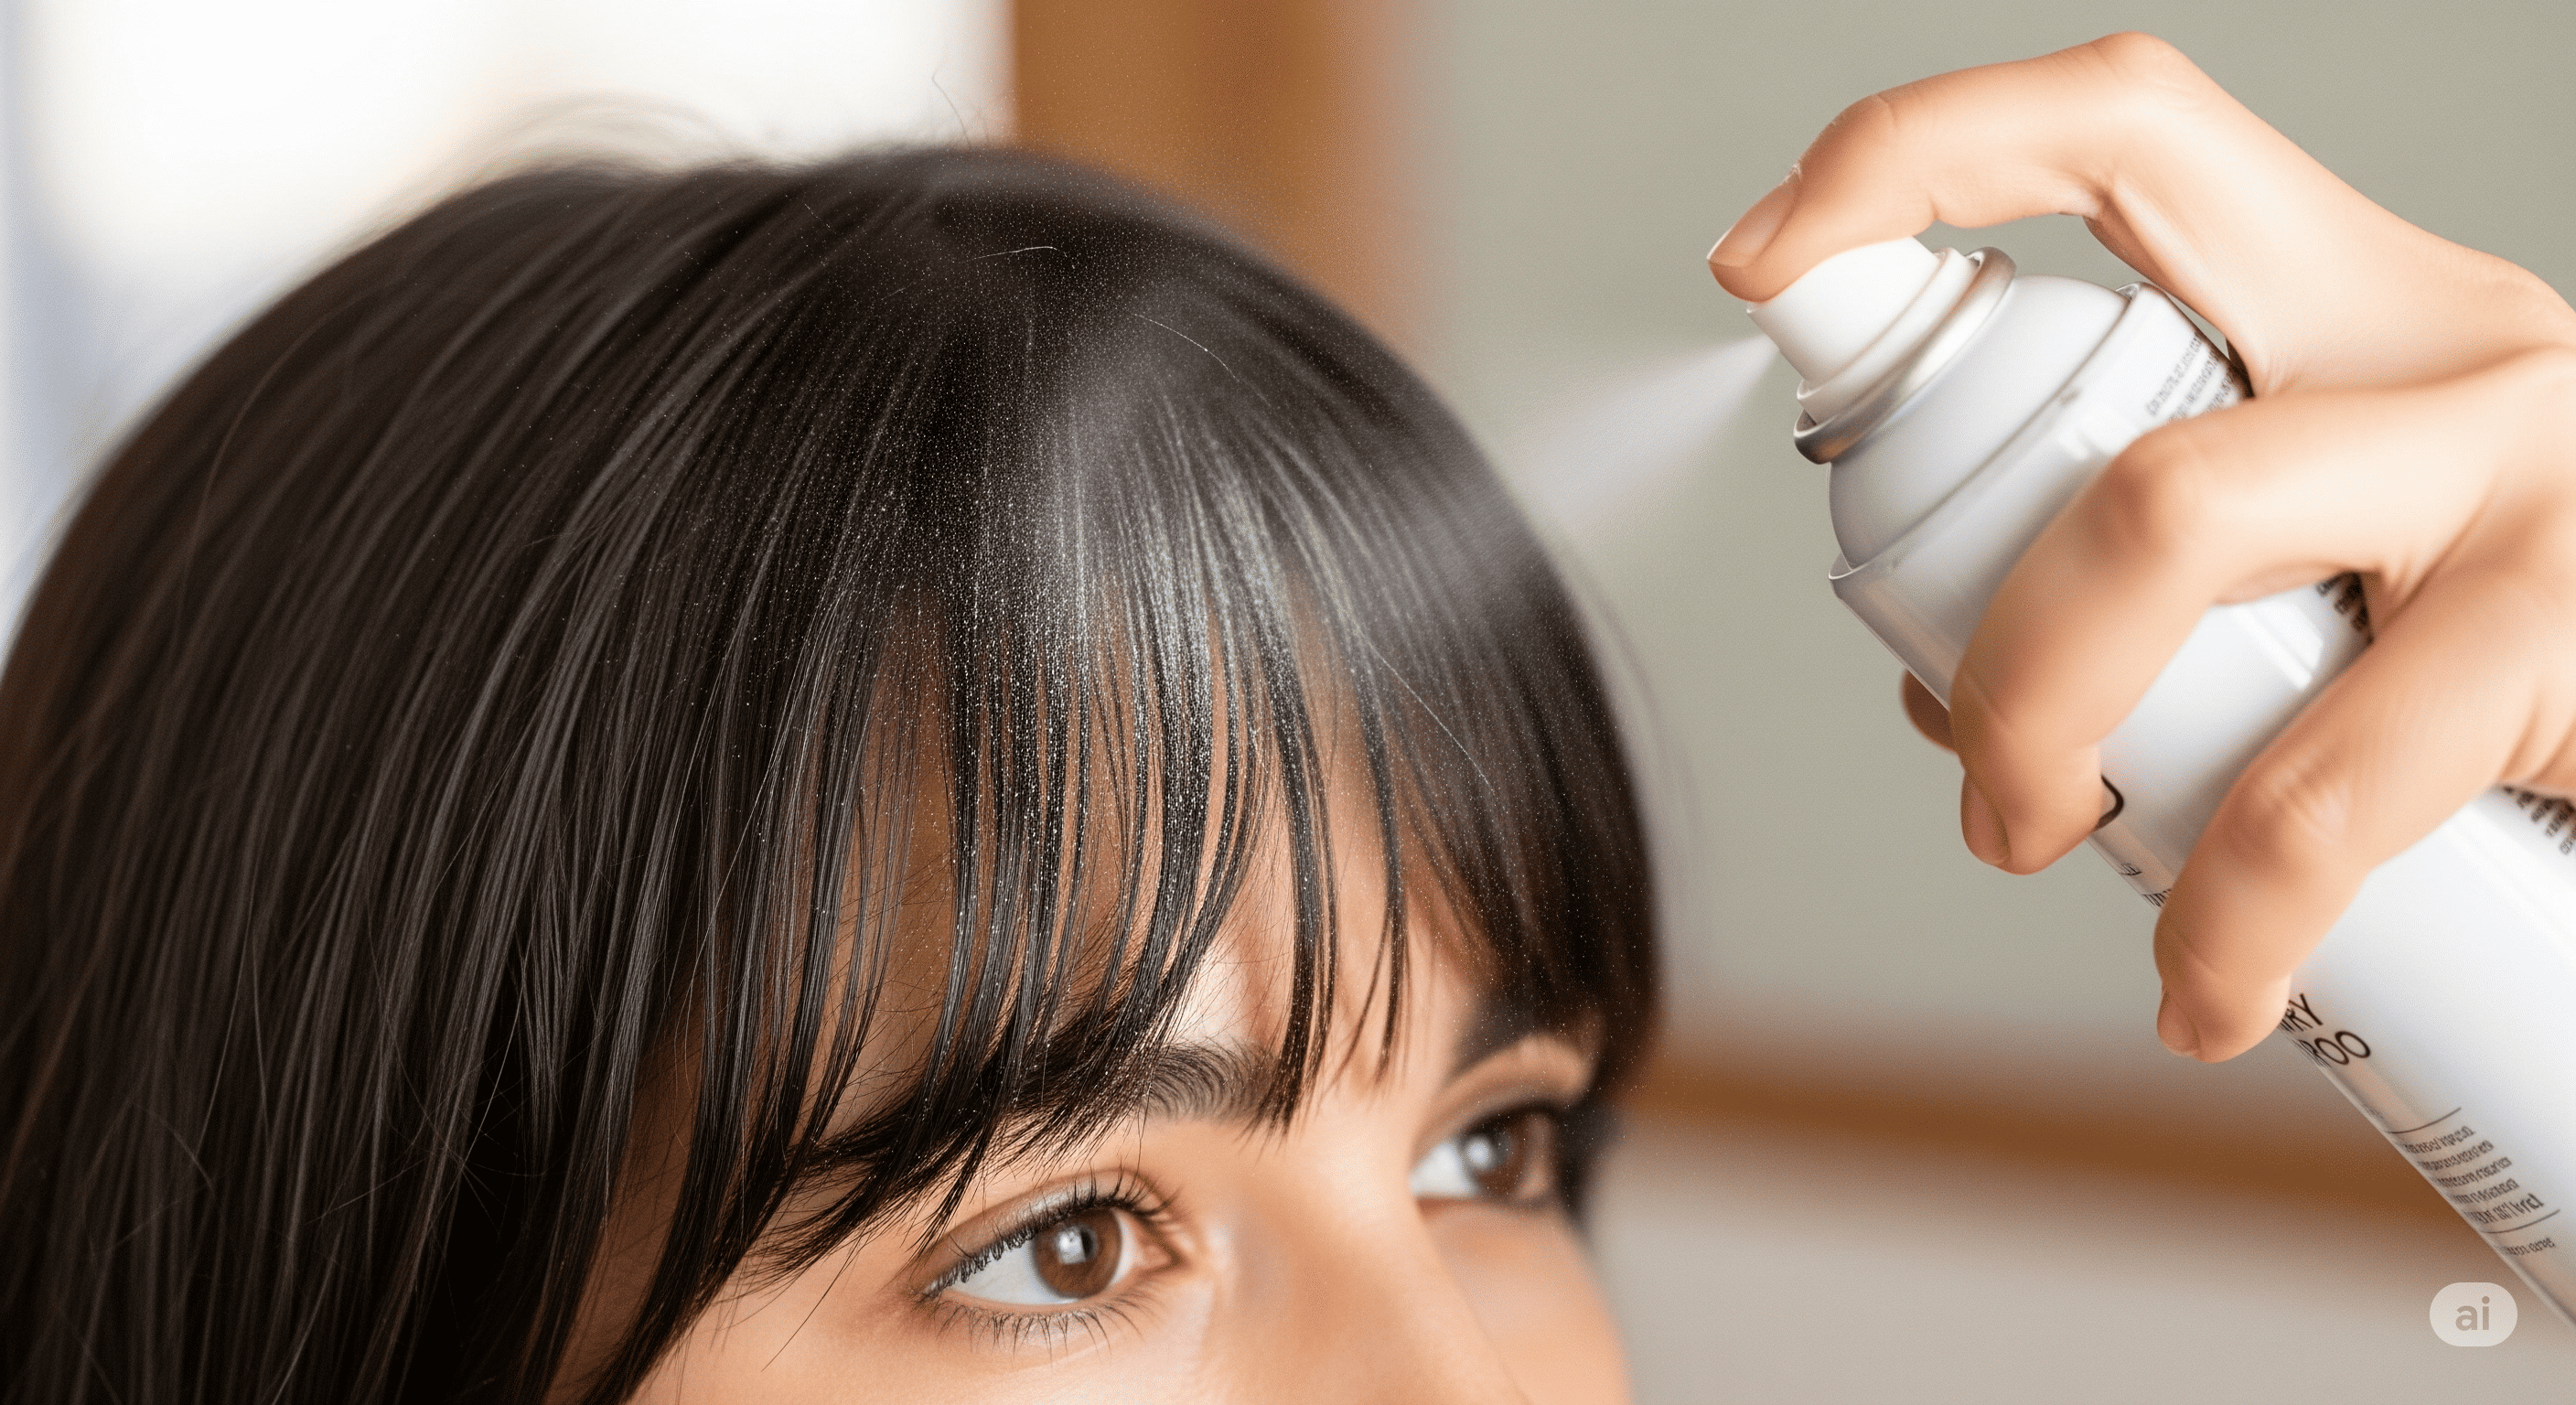
- If your bangs are greasy but the rest of your hair looks fine, use dry shampoo just on the fringe.
- For very fine hair, a light volumizing mousse before blow-drying can help prevent flatness.
Step 2: Towel Dry and Pre-Style
After washing, don’t let your fringe air dry on its own—it can set into odd shapes that are hard to fix later.
- Gently towel dry your bangs by blotting, not rubbing.
- Use a wide-tooth comb to detangle.
- If your hair tends to cowlick, blow-dry your fringe while it’s still damp.
This is the stage where you decide how much texture you want: smooth and polished, or tousled and undone.
Step 3: Blow-Dry the Fringe Correctly
The secret to good fringe styling lies in directional blow-drying.
- Hold a small round brush or paddle brush.
- Blow-dry your fringe side-to-side, not just downward. This helps cancel out cowlicks and adds natural movement.
- Once mostly dry, sweep it forward and slightly curve the ends under (not too much—just enough to avoid a harsh line).
For a more lived-in look, skip the brush and simply use your fingers while blow-drying.
Step 4: Add Texture with Tools
Depending on your mood and your outfit, you can play with different tools:
- Flat Iron Waves: Lightly bend small sections of your fringe with a flat iron for that soft, piece-y look.
- Curling Wand Touches: If you have longer textured bangs, curl just the middle section for volume.
- No-Heat Twist: For an air-dry method, twist your fringe into two sections while damp and pin them until dry. This creates natural movement without heat.
Step 5: Use the Right Styling Products
Products are your best friend for holding the shape of your textured fringe. But the key is not to overdo it—too much and it’ll look stiff instead of effortless.
- Texturizing Spray: Adds separation and grit. Perfect for that messy-chic vibe.
- Light Pomade or Wax: Great for defining ends and giving a piece-y look.
- Flexible Hold Hairspray: Keeps everything in place without looking crunchy.
Step 6: Adjust for Your Hair Type
Not all fringes behave the same. Here’s how to adapt:
- Straight Hair: Add texture with spray or a light wave.
- Wavy Hair: Enhance the natural bends—don’t fight them.
- Curly Hair: Keep it longer to avoid shrinkage, and style with curl cream.
- Thick Hair: Use thinning shears occasionally or ask your stylist to keep weight out of your fringe.
- Fine Hair: Use volumizing mousse and blow-dry forward for lift.
Step 7: Finishing Touches
Run your fingers through your fringe to break it up—never leave it too polished. Tilt your head forward and give it a light spray of texturizing mist. This keeps the look relaxed and natural.
If you want extra hold, lightly tuck your fringe under a clip while doing your makeup, then release it at the end. This trick helps set it into place without heat.
Extra Styling Ideas for Textured Fringe
- The Effortless French Look – Style with minimal product, let some pieces fall naturally.
- Sleek and Polished – Flat iron with shine spray for an elevated evening style.
- Beachy Vibe – Use sea salt spray for messy, undone bangs.
- Grown-Out Chic – Push the fringe slightly to the sides for a curtain effect.
Maintenance Tips
- Trim your fringe every 4–6 weeks to keep it in shape.
- Always blow-dry bangs immediately after washing.
- Invest in a small round brush, dry shampoo, and texturizing spray—they’ll be your holy trinity.
- Avoid heavy conditioners directly on your fringe (makes it limp).
Common Mistakes to Avoid
- Over-styling with heat (fringe can fry easily).
- Using too much product (leads to greasiness).
- Letting bangs air dry without control.
- Cutting your fringe at home without proper tools.
My Personal Routine (Quick Version)
Here’s what I usually do on a weekday morning:
- Spritz dry shampoo (my bangs always get oily first).
- Blow-dry side-to-side for 1 minute.
- Add a quick bend with a flat iron if needed.
- Spray texturizer and tousle with fingers.
Done in under 5 minutes—and it looks intentionally styled without being “done up.”
Conclusion
A textured fringe is one of the easiest, most versatile styles you can try. With the right routine, it only takes a few minutes to transform your look from plain to effortlessly chic. The beauty of a textured fringe is that it doesn’t need perfection—it thrives on softness, movement, and a touch of messiness.
Whether you’re styling it sleek for an event or tousled for everyday wear, the key is experimenting until you find what works for your hair type and lifestyle. Over time, you’ll master the little tricks (like side-to-side blow-drying) that make all the difference.
FAQs about Styling a Textured Fringe
Q1: Can I style a textured fringe without heat?
Yes. You can style it without heat by using the twist-and-pin method on damp hair or letting it air dry with a lightweight mousse for natural movement.
Q2: How do I stop my bangs from separating in the middle?
Blow-dry your fringe side-to-side while it’s damp and finish with a light texturizing spray to keep the strands together.
Q3: Will a textured fringe work with curly hair?
Absolutely. A textured fringe looks great with curls—just keep it slightly longer and apply curl cream to define the natural texture.
Q4: How often should I trim my fringe?
Trimming every 4–6 weeks is best. Since textured bangs grow out more softly than blunt cuts, you can go a bit longer between trims if needed.
Q5: What’s the best product for everyday fringe styling?
A lightweight texturizing spray is ideal. It enhances movement and definition without weighing the hair down.